
If you've ever wondered how to make your electric skateboard turn smoother or carve like a pro, the answer might be in your bushings. Whether you're a beginner or an experienced rider, having the right bushings on your board can make a huge difference in how it handles. In this blog, we’ll walk you through the simple steps to replace your bushings, making your board easier to ride, more responsive, and quieter.
Why Bushings Matter for Carving
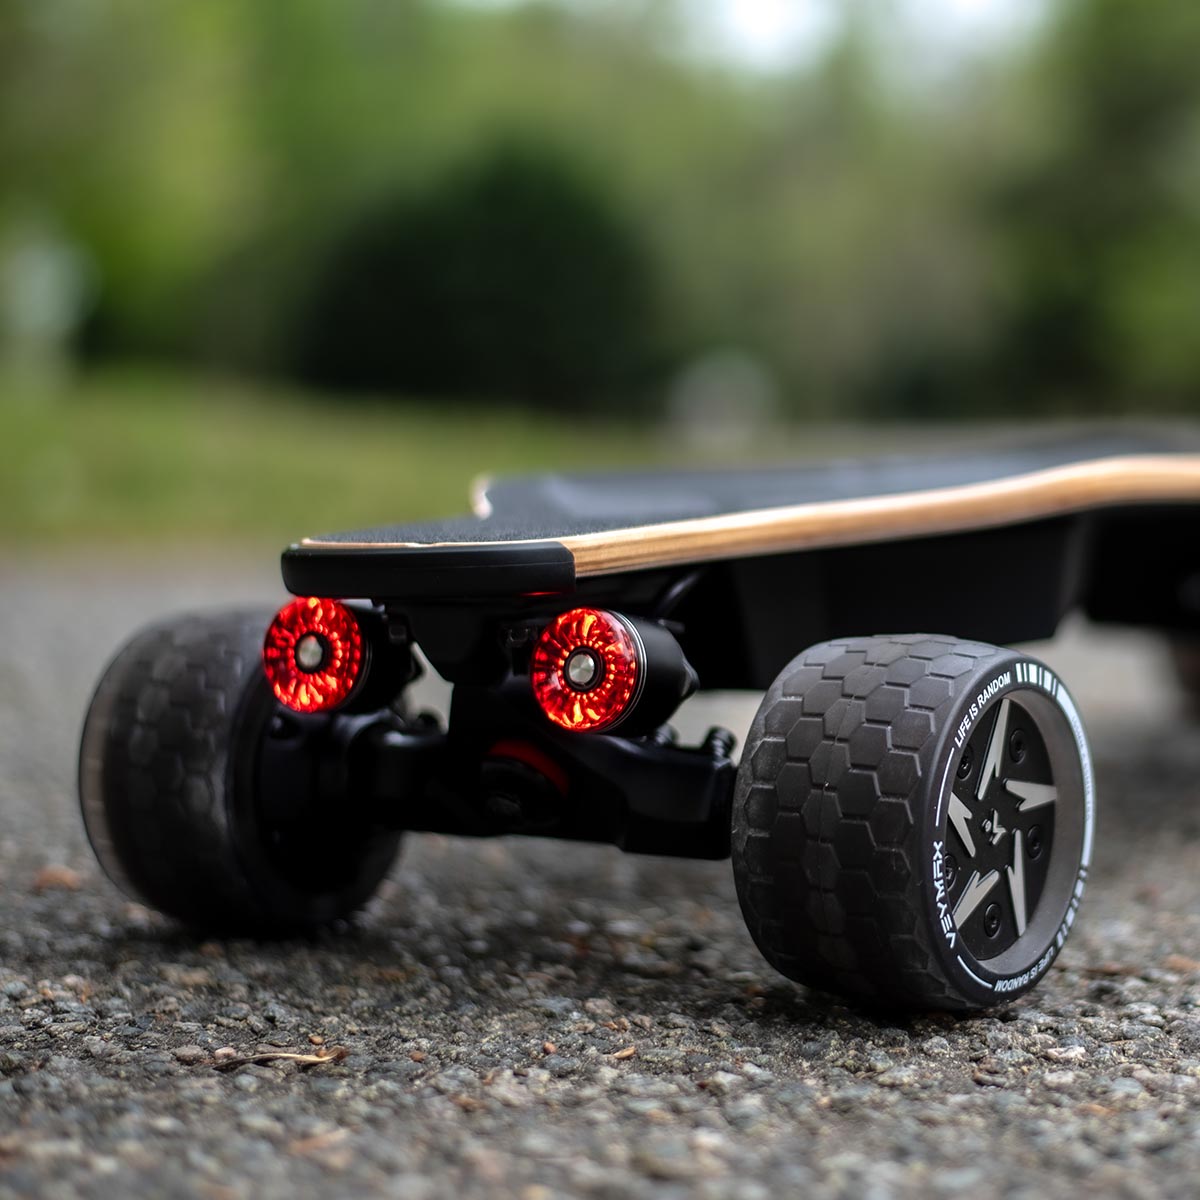
Bushings are the rubber parts of your skateboard’s trucks that control how much your board turns and how it reacts to pressure.The right bushings can improve your carving ability,giving you more control and a smoother ride, especially when navigating tight turns or carving through corners.
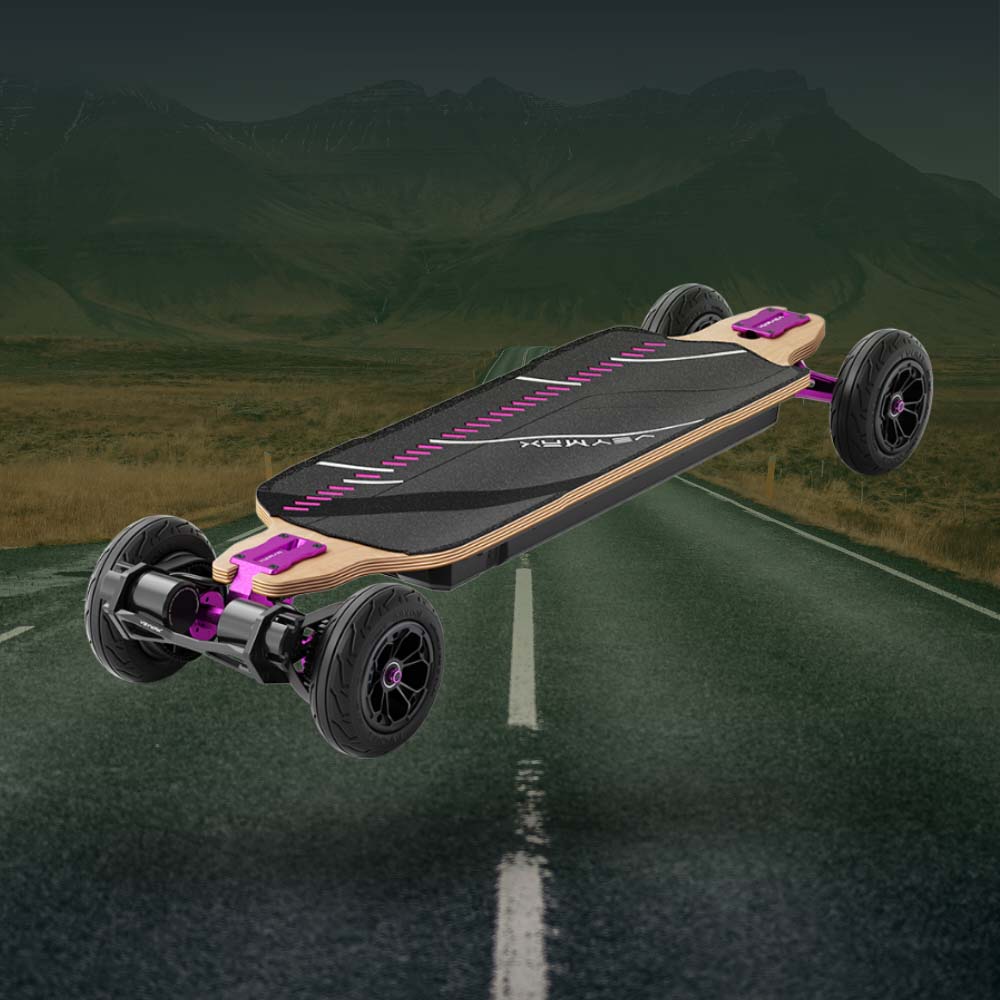
If you want your board to carve better, you may want to swap out your current bushings for a softer set. Softer bushings allow for more flexible turns, making your ride feel more fluid and responsive. Just remember to always wear proper protective gear when trying out new bushings!
Step-by-Step Guide to Replacing Your Bushings
Before we get started, make sure you’re comfortable with basic skateboard maintenance and feel confident in your abilities to perform the task safely.
Tools you’ll need:
- T-tool (for removing bolts)
- Soft cloth (for cleaning)
- White lithium grease (for lubrication)
- Remove the Top Truck Bolt
Use your T-tool to remove the top truck bolt. This will allow you to take apart your trucks and access the bushings.

2. Remove the Top Washer and Bushing
Once the bolt is out, remove the top washer and the top bushing. Keep these parts aside, as you’ll need them later.

3. Remove the Truck Hanger
Next, carefully remove the truck hanger from the base plate. This may take a bit of wiggling, but it should come off fairly easily once the bolt is removed.

4. Remove the Bottom Bushing and Washer
Now, take out the bottom bushing and washer. This part may be a little trickier, but with a bit of effort, you should be able to remove them without any issues.
5. Clean the Base Plate and Washers
Once the bushings are out, it’s important to clean the base plate, washers, and pivot cups. Use a clean rag to wipe away any dirt, debris, or old grease. This will ensure smooth movement when you reassemble the trucks.

6. Apply a Small Amount of Grease
Apply a small amount of white lithium grease to the inside of the washers. This will help reduce friction and keep everything running smoothly.

7. Install the New Bushings
Place the new, softer bushings onto the truck hanger. You’ll want to add a bit of lithium grease to the washers as well before placing them on top of the bushings. Be sure to install the new bushings with the correct orientation.

8. Reassemble the Front Truck
Once your front truck is reassembled with the new bushings, tighten the top truck bolt using your T-tool. Ensure that everything is secure but don’t overtighten, as this can cause unnecessary wear on the bushings.
9. Repeat for the Rear Truck
Now, repeat the same steps for the rear truck. Keep in mind that the rear truck has the motor casing attached, so be careful when working around the motor wires.
10. Tighten Everything and Test Ride
Once both trucks are reassembled, tighten the last truck bolt on the rear truck. You’re now ready to test your new setup!

Congratulations! You've now replaced your bushings and can start carving like a pro. By swapping out your bushings for a softer set, you’ve improved your board’s maneuverability, making it more responsive and fun to ride.
Not only will this upgrade improve your carving ability, but it will also make your board quieter and smoother overall. So get out there, hit the pavement, and enjoy the ride!
Don’t forget to check your bushings regularly. Over time, they can wear down and lose their effectiveness, so it's a good idea to replace them every few months depending on how much you ride.
Thanks for reading! If you found this post helpful, make sure to share it with your fellow riders, and let us know how your carving experience improves after replacing your bushings. Stay safe, and happy shredding!
For a more detailed, step-by-step guide, check out the video on how to replace your bushings and start carving like a pro on our YouTube channel:
Leave a comment
This site is protected by hCaptcha and the hCaptcha Privacy Policy and Terms of Service apply.