If you want your board to look extra rad, you should know where to put stickers on a skateboard. Check out our in-depth guide, which is detailed below.

How to apply stickers to a skateboard
When applying stickers to your skateboard, you should start by cleaning the surface of your board. This will help ensure a clean and strong bond between the sticker and the board. Use isopropyl alcohol or another mild cleaner to wipe down the deck prior to applying any stickers.
Next, carefully peel off the backing from one side of the sticker. Apply it to the deck with even pressure in order to avoid creating air bubbles that could weaken its hold over time. Continue peeling off more sections of backing as you move around your board until all areas have been covered.
In order to make sure all edges are firmly applied, press around them using an object such as a credit card or ruler. Once finished, stand back and admire your board's new look!
Finally, it is important to note that stickers should never be applied over any existing scratches or defects on the deck. Doing so can cause the sticker to peel off prematurely and ruin its appearance. Make sure to fix all damage before applying any graphics.
How to apply stickers to an electric skateboard?
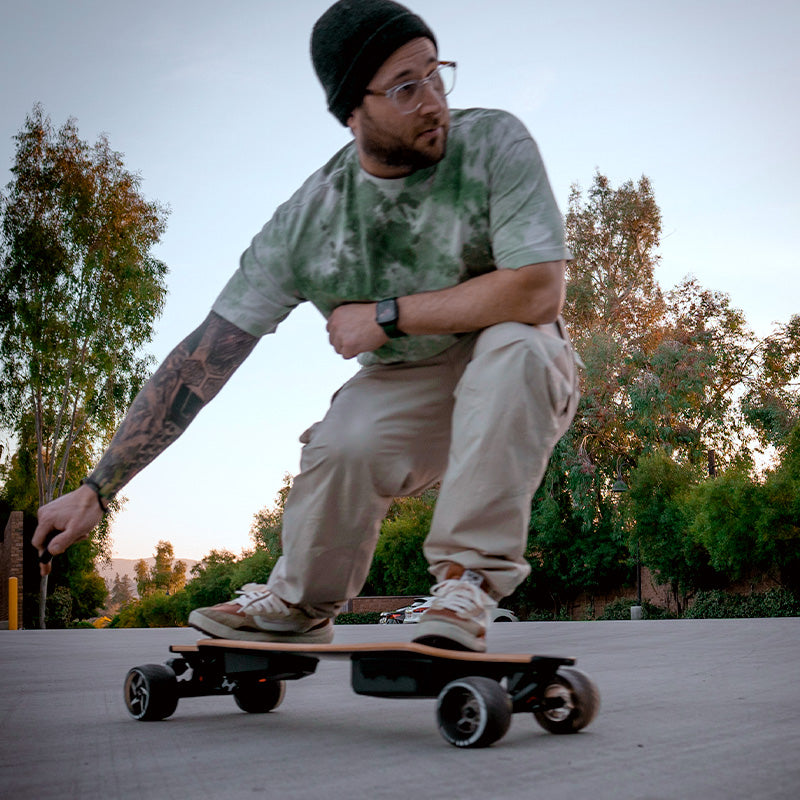
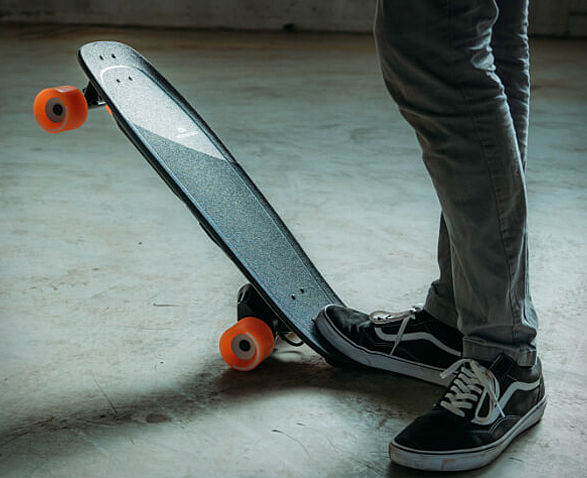
Actually, you can choose and design everything on this board to your liking, from the simple top with the black grip tape halfway down. You have all black sleek stealthy all black deck and components black trucks. Of course, the signature white wheels they do get yellow over time, but I feel like boards are meant to be ridden in.
Applying stickers to an electric skateboard can be a fun and unique way to customize the board. To get started, you'll need a few tools, including a clean cloth or paper towel, rubbing alcohol, a squeegee, and your chosen sticker.
First, make sure the surface you're applying the sticker to is completely clean by wiping it with the cloth and the alcohol. Once the area is clean, carefully remove the backing from the sticker and use the squeegee to attach the sticker to the skateboard. Finally, press down firmly on the sticker with the squeegee to ensure a secure bond.
Why do skaters put stickers on their board?
Skaters often put stickers on their boards as a way to express themselves and pay homage to brands that they admire or are passionate about. By customizing the appearance of their boards, skaters can create a unique look that is all their own. Additionally, the placement of skateboard graphics can signify different meanings; for instance, placing one’s name in the center of the board may represent ownership over it while placing a symbol or brand near the base might be done out of loyalty or support. Ultimately, attaching stickers to skateboards is a form of self-expression that allows riders to reflect their style and make an individual statement with each ride.
By taking part in this tradition, skaters are also showing appreciation for skateboarding culture and the hard work of those who develop and promote it. Whether used to adorn a blank canvas or pay tribute to a particular brand, stickers are a great way for skaters to show their support for their community and what it stands for. As such, skateboard graphics play an important role in elevating the art form by giving riders an additional outlet to express themselves and celebrate what they love about skateboarding.
Ultimately, adding stickers to skateboards is more than just making them look cool—it's a way for riders to honor their passion and represent their style while paying homage to the rich heritage of skateboarding culture. Skateboarders everywhere recognize this special tradition as one that builds community, creates conversation, and helps to promote the sport. So if you’re looking for a way to express yourself and your love of skateboarding, stickers are a great way to do just that.
How many stickers should you put on a skateboard?

The number of stickers you put on a skateboard is ultimately up to your personal preference. However, it’s important to consider how many stickers will look aesthetically pleasing and still maintain the structural integrity of your board. Too many stickers can add extra weight that can affect balance and performance, so try not to go overboard with the number of decals that you put on your skateboard. Additionally, too much text or shading can obscure important information about the board itself, such as the logo or design.
When choosing how many stickers to use for your skateboard, consider where they are placed and what type of message you want to convey. Adding one large sticker in an interesting location is always eye-catching and shows off your creative side. Alternatively, adding multiple smaller stickers throughout the board can be an effective way to show off your style and personality without overwhelming the overall design.
In conclusion, it’s important to consider how many stickers you put on your skateboard as they can affect both the look and performance of your board. Choose wisely and make sure that you’re not overwhelming the design with too much decoration.
Skateboard sticker ideas
There are a lot of options when it comes to skateboard sticker ideas. From simplistic designs featuring text or logos, to detailed illustrations and artwork that tell stories, the possibilities are endless. Popular skateboard stickers often feature cartoon characters and animals, abstract symbols, or creative words in vibrant colors. For an element of personal expression, consider customizing your own unique design by incorporating your name or initials into the design.
To capture a larger audience with a single design, think about creating something that can be interpreted differently depending on who is looking at it. Whatever you choose to put on your board should reflect your character and style while also being able to withstand weathering from skating outdoors. Decorate your board with whatever makes you feel the most comfortable; after all, it’s your skateboard and you should enjoy expressing yourself with its design. Enjoy coming up with skateboard sticker ideas that reflect the unique person that you are.
No matter what kind of designs you choose to put on your board, they need to be high-quality vinyl stickers that can endure the wear and tear of physical activity. Quality skateboard stickers will also last longer in rain and sun exposure without fading or peeling off. When selecting a print house for your custom stickers, make sure that they use a process known as “die-cutting” which is used to cut out shapes from a large sheet of material into smaller pieces for customizing die-cut stickers.
Die cutting gives those complex shapes more room to be precise and detailed. Once you’ve got your custom skateboard stickers, make sure to apply a protective layer of clear laminate to keep them looking fresh even with the toughest conditions. With these tips in mind, you can create unique skateboard stickers that will last a lifetime.

How to build your own skateboard
You will also want to consider the type of trucks, wheels, and bearings that you need for your skateboard. The truck is the metal component that attaches the wheels to the board. It should be chosen based on how wide your deck is, as well as what type of skating you plan to do. The wheel size and hardness should also be considered in relation to your height and type of skating you intend to do. Finally, bearings are responsible for allowing your wheels to spin freely and quickly which can have an impact on performance. Make sure you select ones with good ratings for speed and durability.
After selecting all components, prepare them by cleaning off any dirt or dust from the surface using a cloth or paper towel. You will also need to use a skateboard tool kit to tighten up the nuts and bolts that attach the trucks, wheels, and bearings. It is important to not over-tighten as this could damage the components or cause them to break.
Once all components are in place, it's time to assemble your skateboard. Start by attaching the trucks with four screws per side. You will then want to slide on the bearings into each wheel before using four more screws to secure them in place. Make sure that you leave enough room for the wheels to spin freely without any obstruction. Finally, place the grip tape on top of the deck and press down firmly until it adheres fully.
How to design your own skateboard
The size and shape of a skateboard are critical to your success and safety. If the deck is too small it can be unstable, making it harder to stay balanced and more prone to injury. On the other hand, if the board is too large, then you’ll have difficulty maneuvering around tight corners or performing tricks. In addition, having the wrong shape can make some tricks impossible or very challenging.
For overall cruising and transportation, an 8-9 inch wide deck with a 31-32 inch wheelbase (the distance between the innermost truck bolts) is perfect for those new to skateboarding. This size provides enough stability while still allowing agility when turning corners. For performing tricks an 8-8.5 inch wide deck with a 28-29 inch wheelbase is most ideal as it provides the balance needed to stay on top of the board when performing flips or grinds.
The shape of your skateboard is also important, especially when selecting a one for tricks and stunts. A bowl shaped nose (concave) will allow you to easily gain speed while doing tricks, while popsicle shapes are better suited for grinding because they provide more stability. In addition, the tail should be slightly curved upwards so that you can use it to help with ollieing (jumping off the ground) and other flip tricks.
Once you’ve decided on the size and shape of your board, it’s time to think about all the details that will make your skateboard one-of-a-kind. Deck design, hardware, wheels, and trucks all come into play when it comes to creating a custom skateboard.
The deck of your skateboard is the most important part of the entire build. You'll want to decide on the materials used for it—be it hard maple wood or fiberglass composite—and pick out unique patterns and designs to create something special. Consider using laser engraving or full-color printing techniques as well if you really want to stand out from the crowd.
When it comes to hardware, you’ll want to choose different types of mounting hardware and screws for a secure attachment. The size and shape of the wheels will also determine how your board performs. You'll need to consider things like diameter, hardness, contact patch, and more when it comes to selecting wheels. Choose bolts that are appropriate for the type of trucks you're using as well, so they can hold up under the stress of turning and carving on your skateboard.
Finally, make sure you select quality trucks that are suitable for the style of skateboarding you plan on doing. There are plenty of options out there in different sizes and colors to suit just about any preference or budget.
No matter what components you decide on for your custom skateboard, you’ll be able to enjoy the satisfaction of riding your own creation. With a little bit of research and some creative input, you’ll have a board that’s uniquely yours and ready for you to hit the streets with confidence.
How to build your own skateboard
Once you have created the design for your skateboard, it is time to start building it. You will need some basic supplies such as wood screws, a drill bit and wood glue. A jigsaw or electric saw can be used to cut out the pieces of wood according to your design. Next, you will want to sand down the edges of each piece and make sure that all surfaces are smooth before putting them together with the screws. Make sure to pre-drill pilot holes for screwing in order to avoid splitting the wood when you tighten up screws for assembly later on.
When assembling your skateboard, always use a clamp to hold pieces together during gluing – this makes it easier and more efficient than using hands alone. Be sure to use the right glue for wood, and apply it evenly over the entire surface before pressing them together firmly. Once all pieces are glued and attached with screws, you can begin adding the grip tape on top of your skateboard. This provides traction and helps to keep your feet from sliding off as you’re riding.
Finally, attach your trucks (or wheels) onto your skateboard. Make sure that you select a truck size based on how wide or narrow your board is – this will determine what type of wheel setup is best for you. With these steps completed, you now have a finished custom-made skateboard.


Leave a comment
This site is protected by hCaptcha and the hCaptcha Privacy Policy and Terms of Service apply.